Share your sketches on the Arduino Web Editor Arduino Blog
Share your sketches on the Arduino Web Editor Arduino Blog
First, we need to initialize the WiFiNINA library. Then, we need to create the credentials of our access point by entering our SSID (name of network) and PASS (password of network). Once the program is running, it will create an access point, start hosting a server, and wait for a client to connect. On our phone or laptop, we can now find the.

Arduino WEBserver + блок реле YouTube
With an Arduino web server, you can already store a web page and extend control over your sensors and other connected devices. Things like reading sensor values and toggling relay switches can now be done anywhere via a WiFi connection. Additionally, a web server that can be accessed anywhere via the internet is called a global server.
Basic Arduino Web Server
Arduino IDE installed in the computer; Wi-Fi connection. USB cable to connect the board to the computer. Steps. Select the board you will be working with. In the Arduino IDE go to Files → Examples → WiFiNINA and click on SimpleWebServerWiFi example. Add the Wi-Fi details you wish to connect in the arduino_secrets.h file.

What Is Arduino
In order to create a web server on our MKR WiFi 1010, we will go through the following steps: First, we need to initialize the WiFiNINA library. Then, we will connect to our local Wi-Fi by entering our SSID (name of network) and PASS (password of network). Once connected, it will start hosting a server, and start waiting for a client.

Getting Started with Arduino and Genuino UNO ARDUINO DAN Komunikasi Arduino dengan VB
1. Configure the Arduino as a Web Server The Arduino is set up as an HTTP web server that hosts a web page containing the temperature gauges. The following list contains some resource on how to use the Arduino as a web server. Arduino Ethernet Shield Web Server Tutorial - all the information needed to make an Arduino web server from scratch.

Arduino Web Editor Secondary Features Hackster.io
Before setup (), add this line: WiFiServer server(80); to initialize a TCP server on port 80 and at the end of setup () call. server.begin(); to start the server. Now this is a TCP server, not an HTTP server. But since HTTP (a TCP/IP application protocol) is built on top of TCP (the transport layer), we can build the HTTP server on our own.

This tutorial goes through the steps to making your own Arduino web server. It’s a
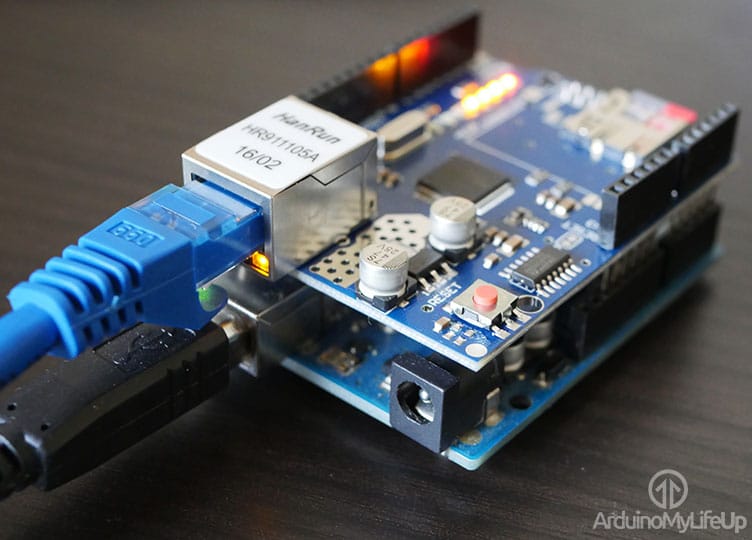
To use an Arduino as a Web server, you need the following: Arduino Mega2560 (or Arduino UNO) Ethernet shield Wired LAN Connection with speed of 10/100Mb Arduino Web Server Board Connections The Ethernet shield connects the Arduino to the Internet.
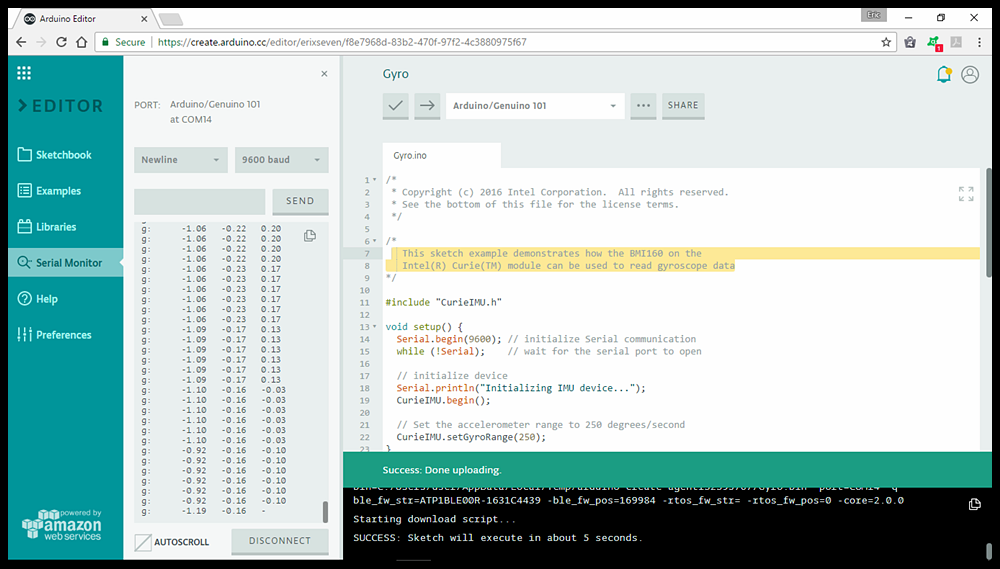
Arduinoer First try Arduino Web Editor/Arduino 101 with Gyro example
Host a Web Server on the Arduino UNO WiFi Rev2 Learn how to access your board through a browser on the same network. AUTHOR: Karl Söderby Introduction In this tutorial, we will use the Arduino UNO WiFi Rev2 board to set up a simple web server, using the WiFiNINA library.

Arduino Web Client PHPoC Forum
By accessing the web pages hosted on the Arduino Web Server through a web browser on your PC or smartphone, you'll be able to read values from the Arduino and even control it. Here's a breakdown of what we'll learn to program the Arduino Uno WiFi to achieve:
Building an Arduino Web Server DIYODE Magazine
If you're serving a lot of data from a web server, then an Arduino may not actually be the best choice. Web servers can be built from something like a small computer ( Raspberry Pi or small PC) or scale up to a fully-fledged multi-processor web server used in data centres around the world.

Implementing an Arduino web application Cuyahoga
Setting up a web server on the Arduino is a straightforward process that covers the process of getting it up and running. I will also cover some core concepts such as using Ajax to update rather than refreshing the page over and over. You will need to know some basic HTML which is incredibly easy to grasp the concepts of.
Arduino programming & syntax A definitive guide for beginners
WiFi Web Server. Serve a webpage from the WiFi shield with Analog Input values. In this example, you will use your WiFi Shield and your Arduino board to create a simple Web server. Using the WiFi library, your device will be able to answer a HTTP request with your WiFI shield. After opening a browser and navigating to your WiFi shield's IP.

Arduino To IFTTT Using Webhooks (Stepbystep Tutorial) Siytek
The Arduino Ethernet shield connects your Arduino to the internet in a simple way. Just mount this module onto your Arduino board, connect it to your network with an RJ45 cable and follow a few simple steps to start controlling your projects through the web.

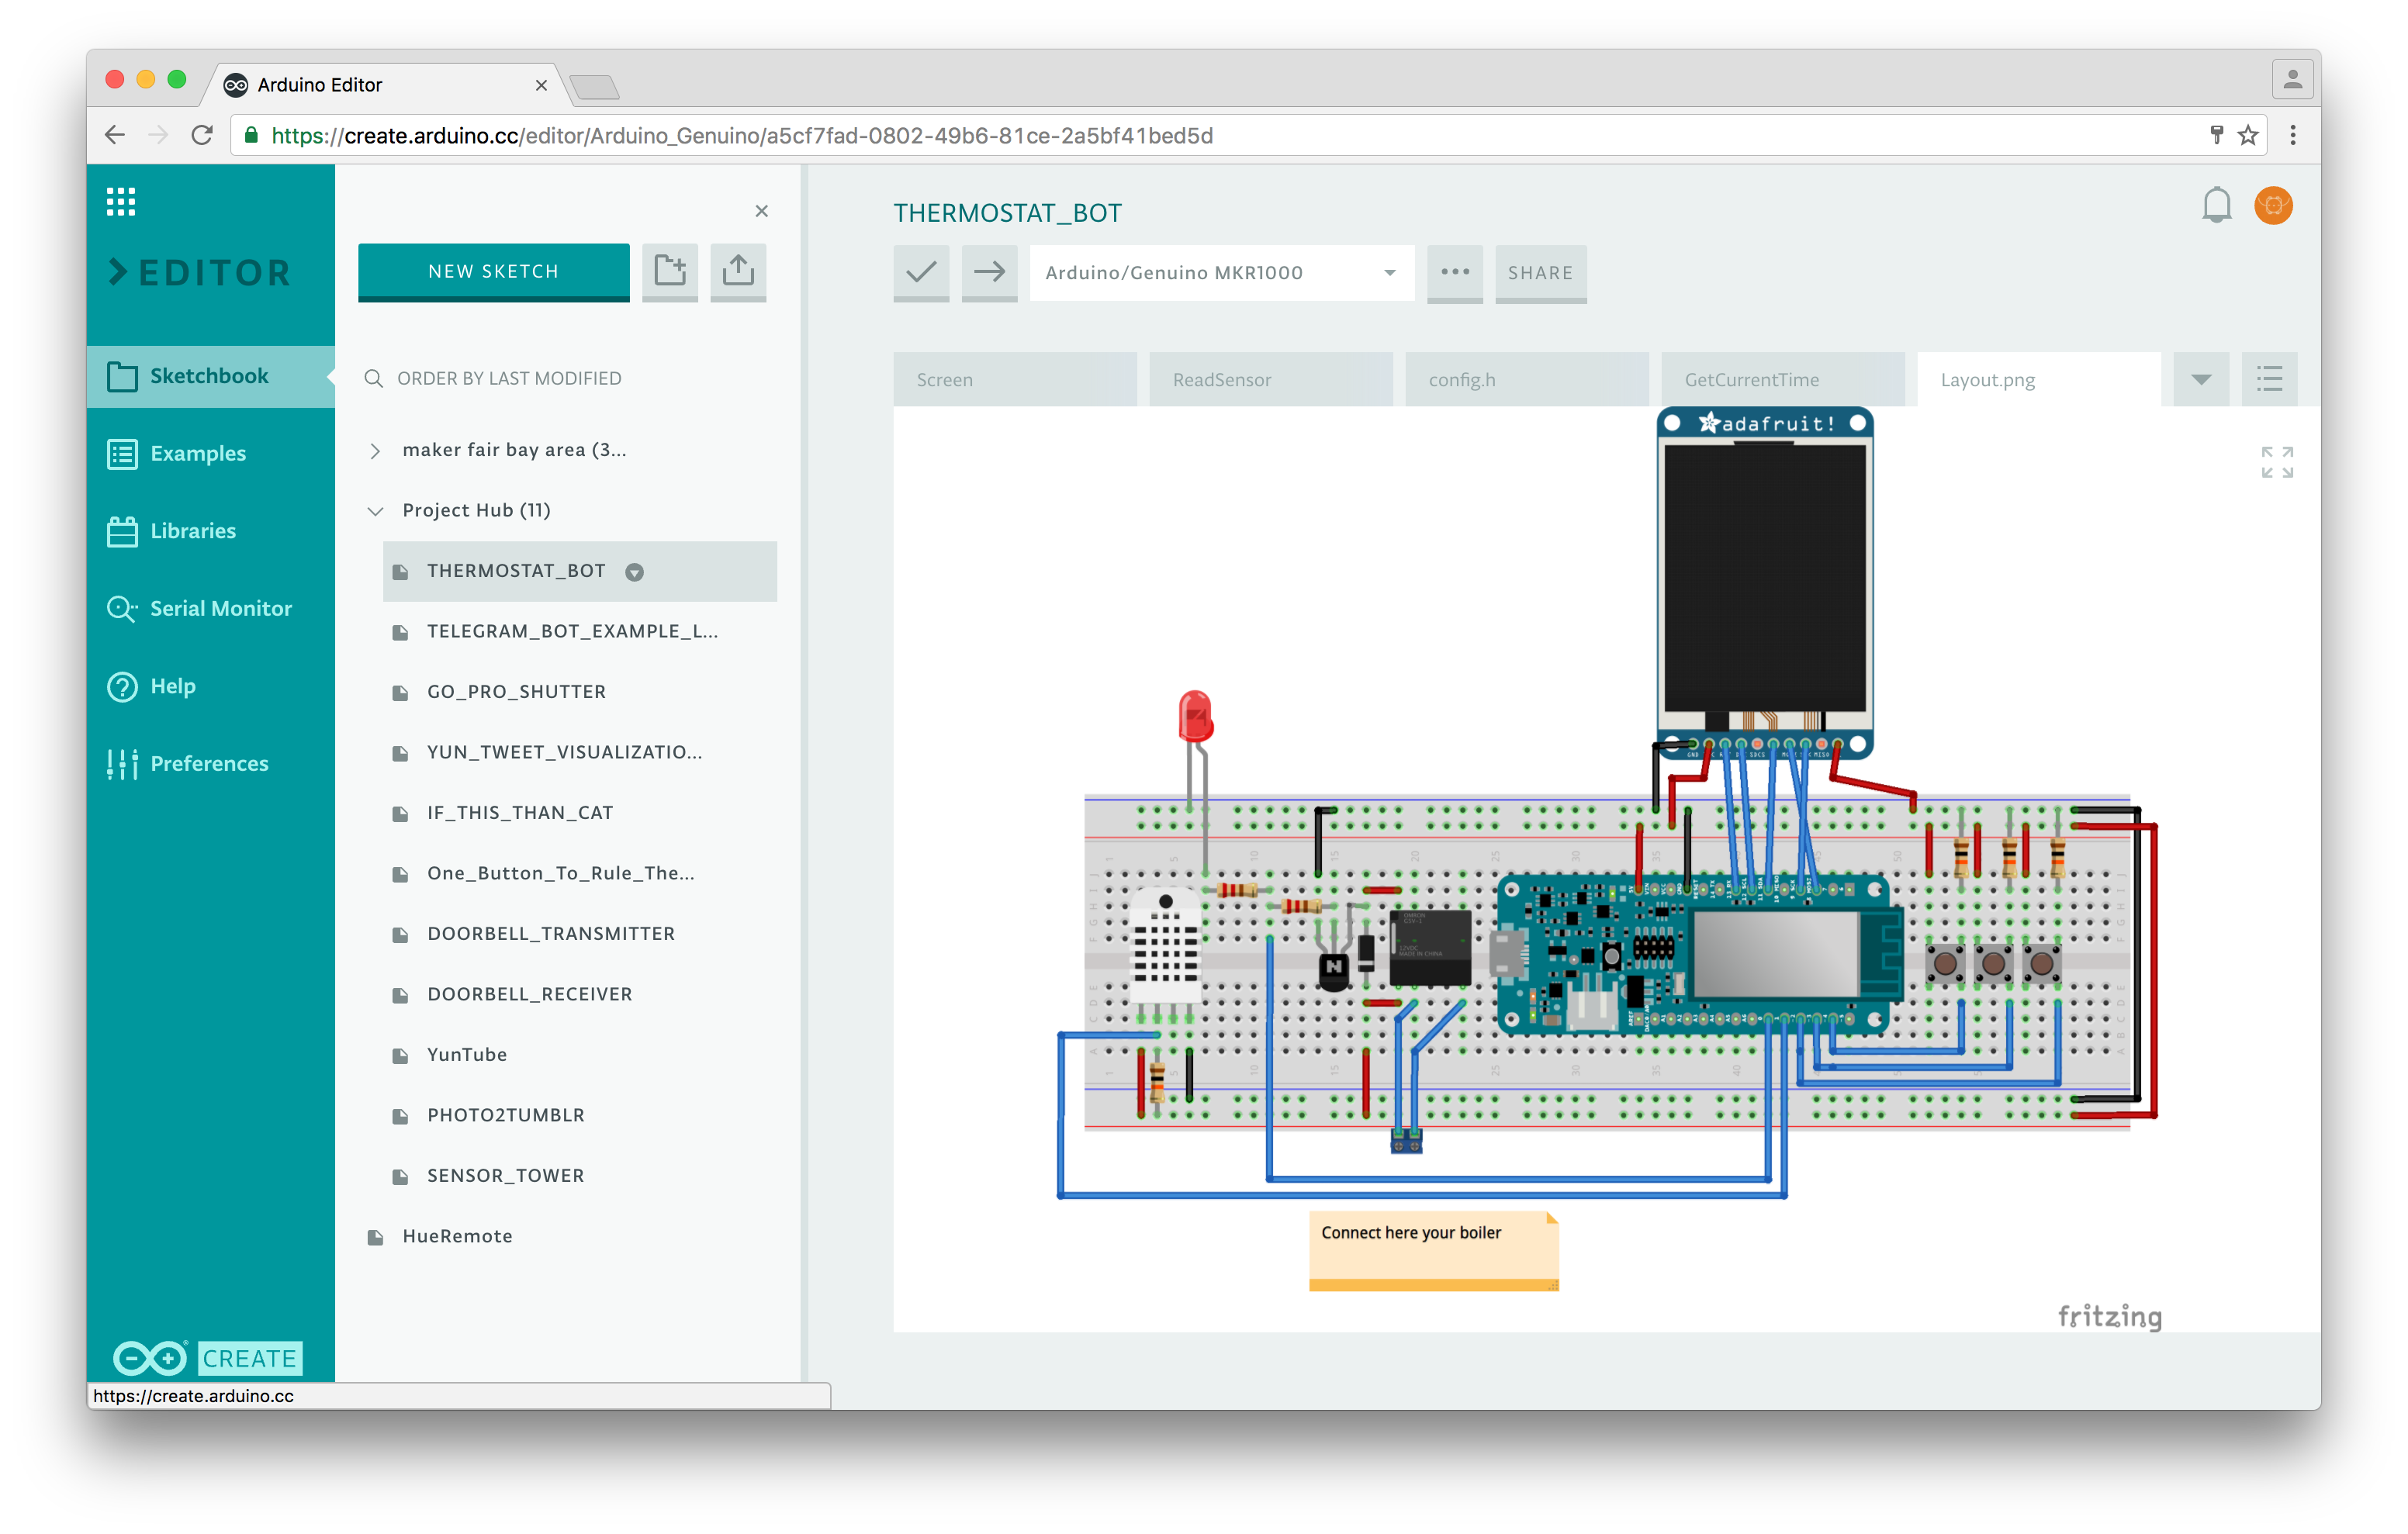
Getting started with the Arduino Web Editor
How a web server on Arduino works When a web browser sends an HTTP request to the Arduino board, the Arduino needs to be programmed to perform the following tasks: Create a web server that can listen for HTTP requests from the web browser. Read the first line of the HTTP request header when it receives an HTTP request.
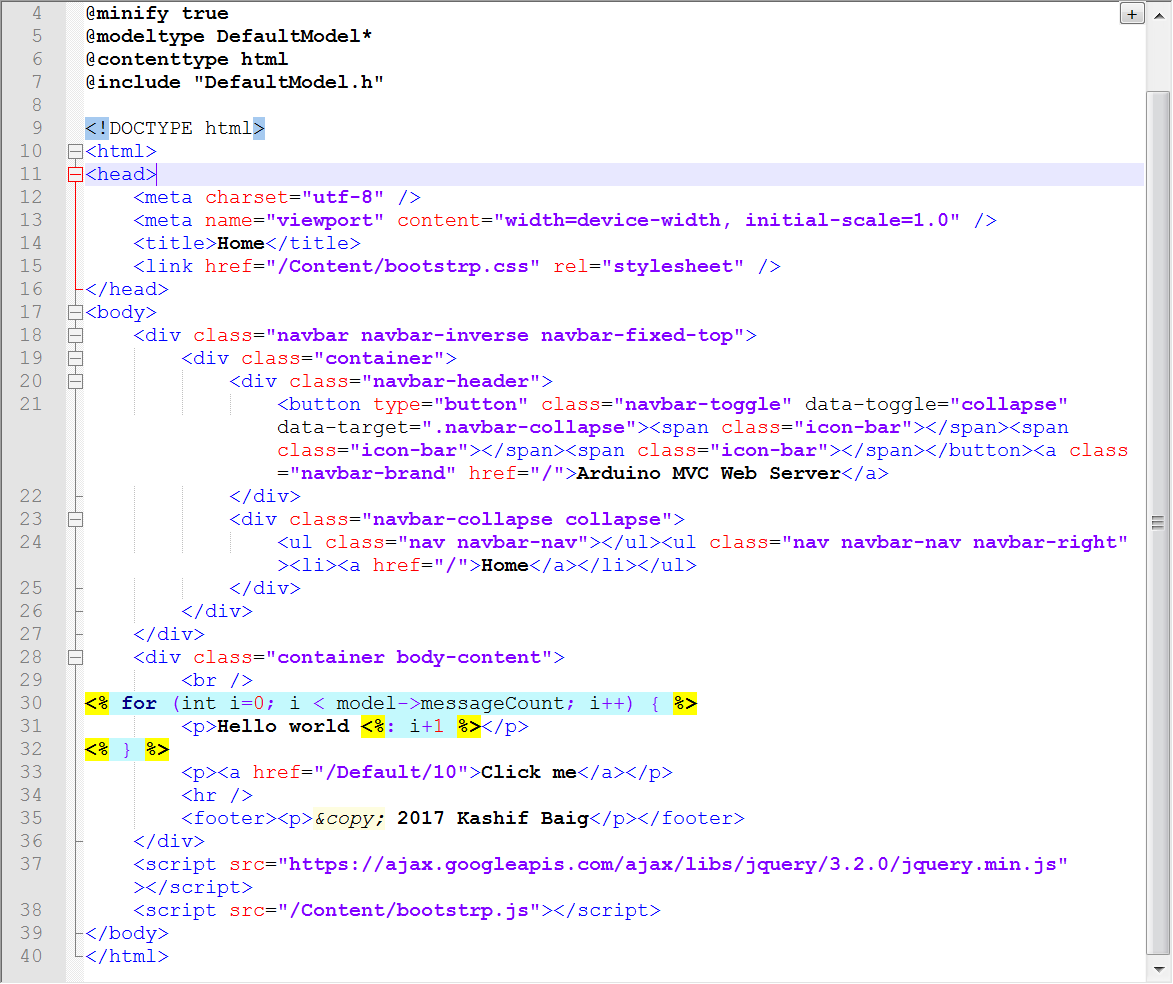
Arduino Web Server Develop IoT Web Apps Using MVC Design
Steps: 1. Connect the Ethernet Shield and the Arduino Uno. 2. Plug in the Arduino USB Cable to the board and the computer. The led on the board should light up. 3. On the computer, open Arduino IDE. 4. Open: File > Examples > Ethernet > WebServer 5.

RF Based Wireless Message Broadcasting system in Arduino MyCircuits9
Create A Simple ESP8266 NodeMCU Web Server In Arduino IDE In recent years, the ESP8266 has risen to prominence in IoT and WiFi-related projects. It's a low-cost WiFi module that, with a little extra effort, can be programmed to run a standalone web server. What a cool thing! What exactly is a Web server and how does it work?
